
- Adding Color Dyes to 3D Printing Resin Materials - December 8, 2023
If you’re working on a new product or component design prototypes, it can become quite mundane to use the same colors over and over again. Thankfully, there are now a variety of drops and tints available that can bring any resin to life and help you achieve unique colors for your next 3D printing project. In this blog post, I’ll cover how you can add color to your resins using custom dyes.
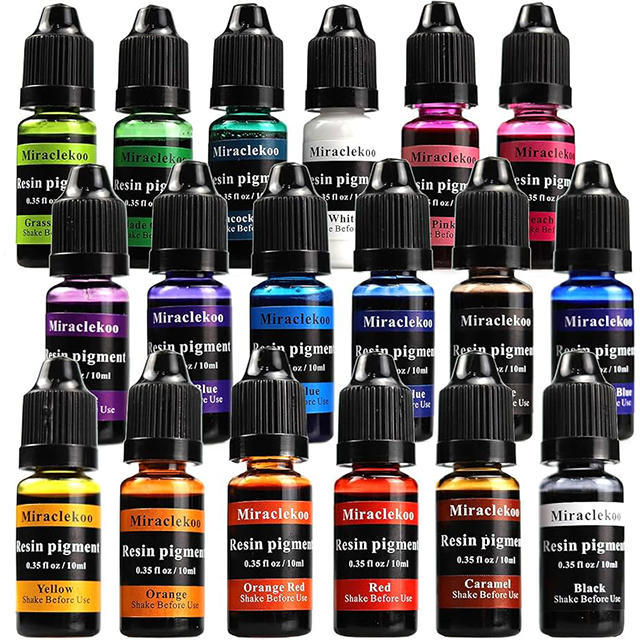
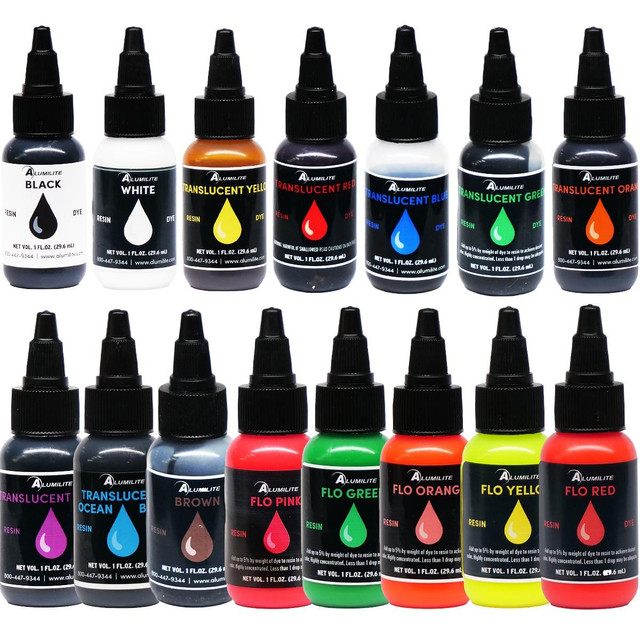
While we haven’t tested all of the dye kits available in the market, our users have found success with Miraclekoo epoxy resin dyes and Alumilite resin dyes, both designed to be mixed with epoxy casting. These come in alcohol-based liquid dyes that are readily available from online retailers or specialty woodworking stores. For Miraclekoo, you need to mix 10ml of dye per kg of resin, while Alumilite is more concentrated and only a few drops per kg will suffice. If you’re using Aluminite White, you may only need a few drops to achieve opacity. Monocure3D pigment dye is also an excellent choice if you’d like to experiment with dyes while having access to basic cyan, magenta, yellow, and black (CMYK) dyes.
When working with dyes, it’s recommended that you label your bottles properly to avoid confusion. Avoid using powder-based dyes, but if you must, then go for those that have nano-sized particles to prevent UV blockage if it settles to the bottom of the vat. For industrial users looking to order resins over 1 ton, contact your resin supplier to discuss custom color blending options. Suppliers can provide resins that match any Pantone® specification.
The beauty of the Nexa3D resin 3D printers is that they’re built on an open material platform and you’re able to use and experiment with third party resins. To do this, you’ll need a Pro license of NexaX software to operate from the custom settings menu. Typically, you’ll need to adjust the exposure time to get dimensionally accurate parts. Dyes are known to absorb or scatter UV rays, which means that the exposure time will need to be increased to achieve the same UV exposure to the resin layer. While blue and purple dyes absorb the least UV, yellow-red dyes absorb the most. So, an increase in exposure time of 1-15% is normal.
You can add dyes to translucent or clear photopolymer resins for a translucent color or to white and near-white resins for an opaque color. However, it’s important to note that some photopolymer resins use yellowing photo-initiators that will turn a bit more yellow after post-curing. Therefore, you may observe some color shift after post-curing. Using ultra-clear or pure white resins that use a different photo-initiator that doesn’t yellow as much is recommended. Some of the recommended materials to start with include xMODEL17-Clear and PRO9499-White.
Adding color to 3D printing resins is a great way to achieve custom colors for your prints. Whether you’re looking to use translucent or opaque colors, dyes offer a convenient way to get your desired colors. Remember, working with dyes is not supported by the warranty, so be sure to confirm the cure times and mechanical properties of your materials. Follow these tips and you’ll be on your way to achieving fantastic custom colors for your next 3D prints.